
Guide on How To Register a Domain Name
Step 1: Check if the Domain name is available
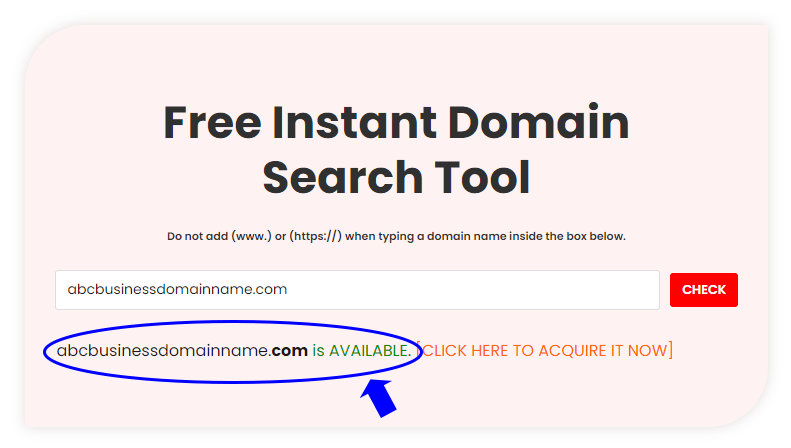
If the the domain name is available, you will see a result like the one in the image below stating that the domain name is available.
Click here to do a domain name search
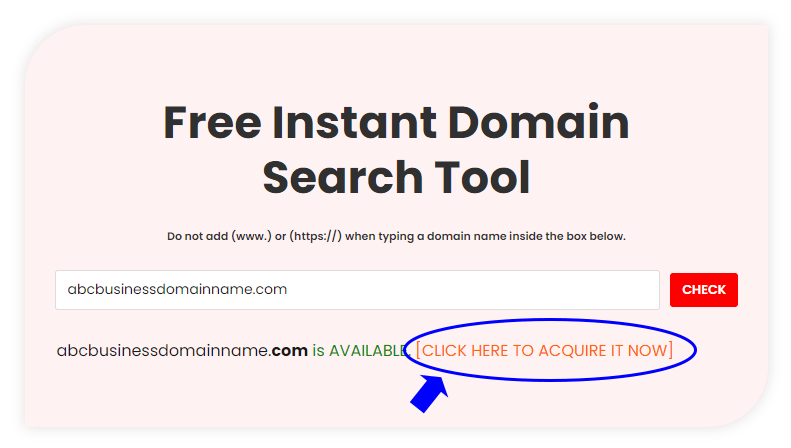
Upon confirmation that it is available, next thing to do is to follow the instruction as shown in the image below, which is to click on the text “CLICK HERE TO ACQUIRE IT NOW” as show in the image above to proceed to the next step which is “step 2”.
Step 2: Re-confirm Domain
Use the search bar on the homepage to enter your desired domain name. Namecheap will check the availability of the domain.

Step 3: Choose Domain Extension and Add to Cart
Once you confirm the availability of the domain you are interested in, choose the desired domain extension (e.g., .com, .net, .org) from a suggested list of domain extension for the domain name or just stick with the “.com” domain main extension and proceed to the next step.
Click on the “Add to Cart” button.

Guide on How To Get Hosting Space
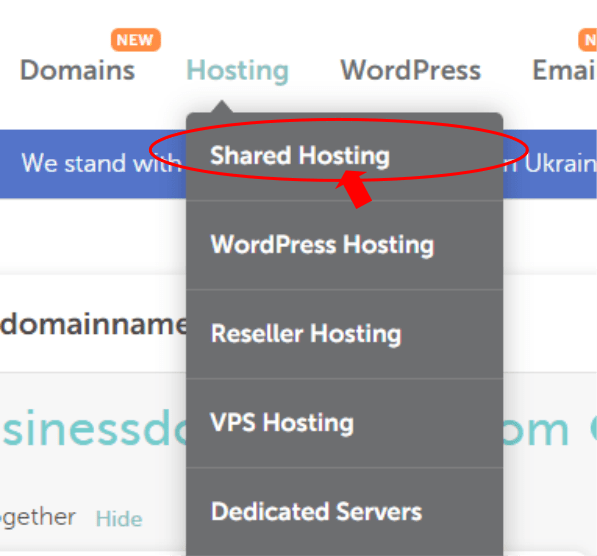
Step 4: Go to Hosting section and choose Hosting Plan
In the menu, navigate to the “Hosting” section. Select the type of hosting you need. I would advice you choose “Shared Hosting” for a start.
Step 5: Choose Shared Hosting Plan
In the page, there will be 3 shared hosting plan (Stellar, Stellar Plus and Stellar Business). For a start go with the plan named “Stellar” and click on the “Get Started” button to proceed further.
Step 6: Connect Domain name to the Shared Hosting Plan
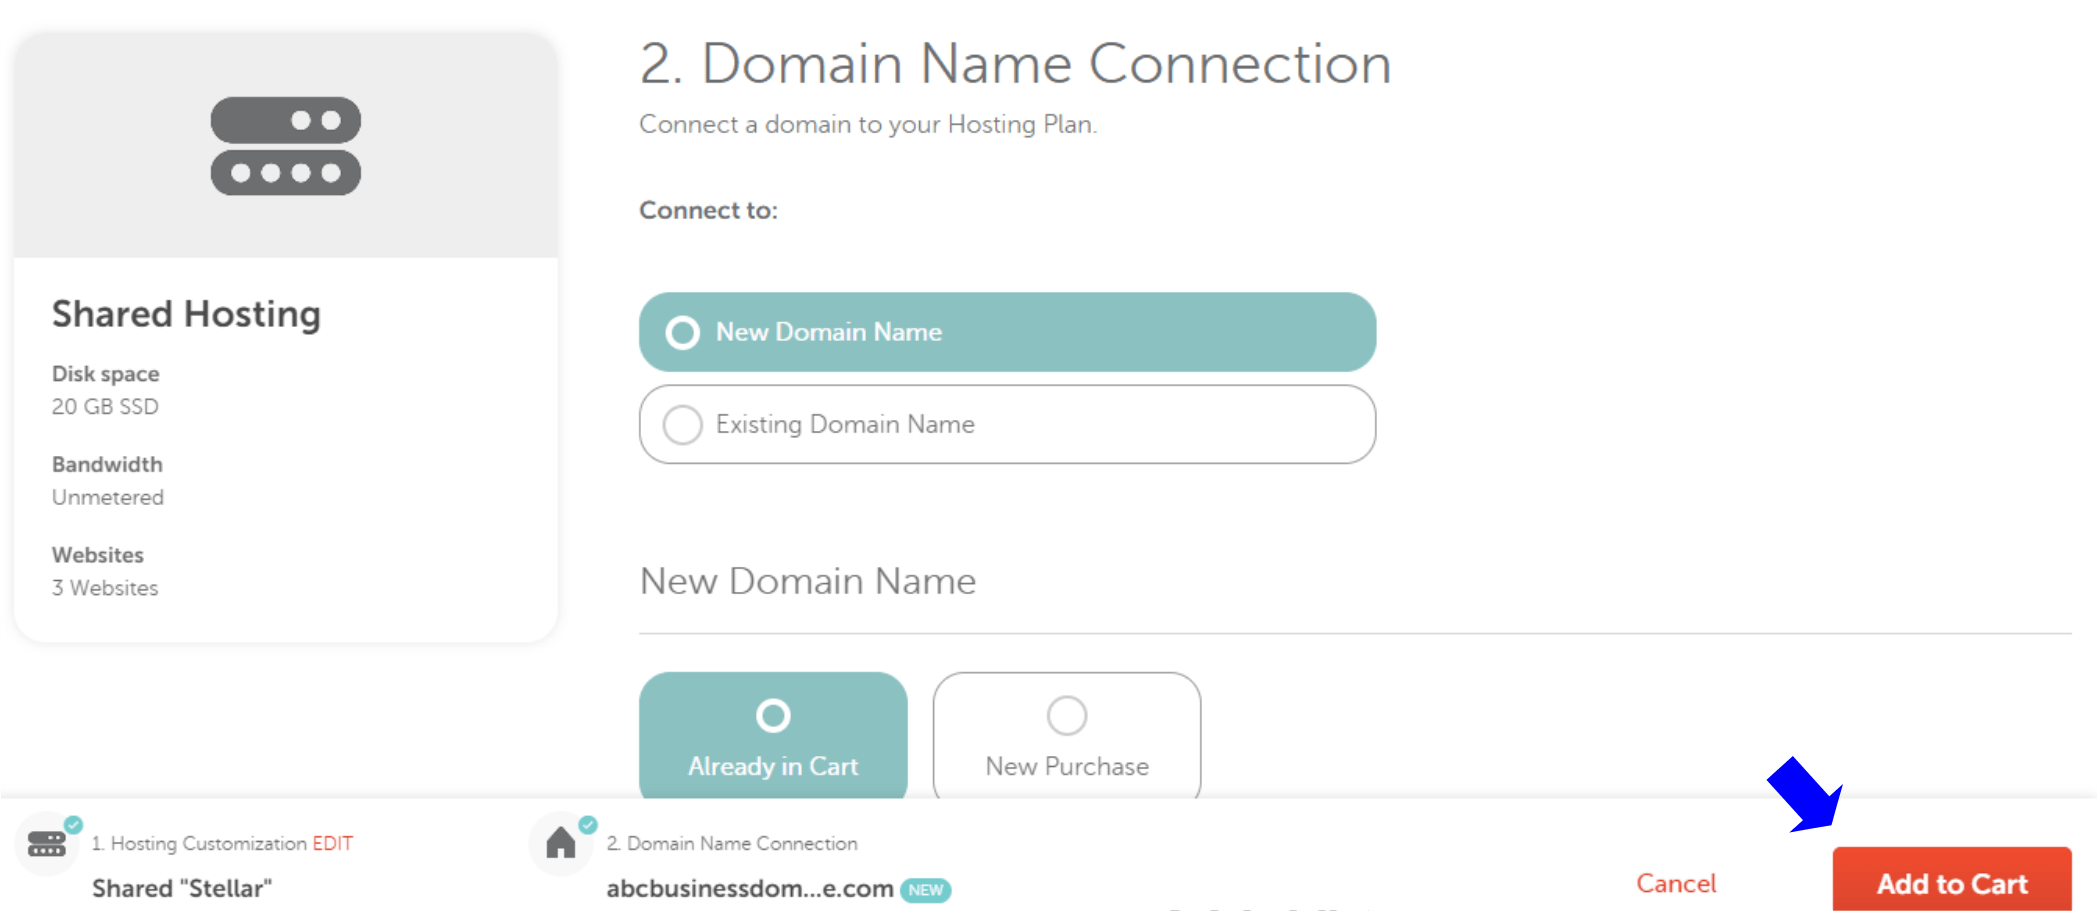
In the page, you will need to connect the domain name that you earlier added to cart to the Stellar shared hosting plan that you just selected. Set to “New Domain Name” and “Already in Cart” as shown in the image below then click on “Add to Cart” at the bottom right corner.
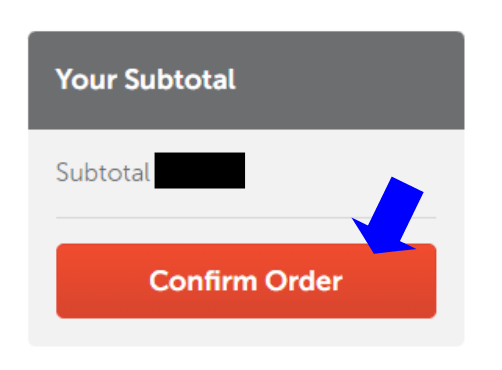
Step 7: Review and Confirm your order
Review your domain and hosting package selection in the cart. If you’re satisfied, click on the “Confirm Order” button.
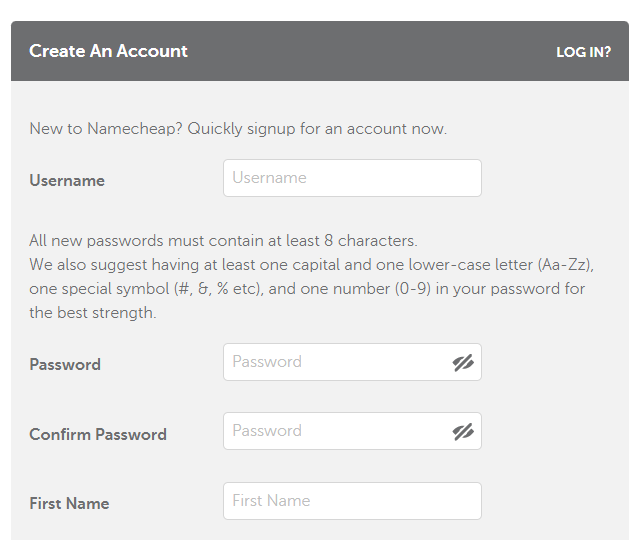
Step 8: Create an Account
If you’re a new customer, you’ll need to create a Namecheap account. Fill in your details and create a username and password.
Step 9: Configure Domain Settings
Configure domain settings such as domain registration period, domain privacy protection (if desired), and other optional services.
Step 10: Review order
Review your order summary, enter payment details, and confirm your purchase.
Step 11: Complete the Purchase
Once payment is confirmed, you’ll receive a confirmation email and the cPanel login details in the mail inbox of the email that you used in creating you account. Your domain is now registered with Namecheap.
Step 12: Access Hosting Control Panel
Once your hosting account is set up, you can access your hosting control panel. This is where you can manage your website, files, and other settings.
Congratulations! You have successfully registered a domain name and purchased hosting space with Namecheap. Remember to keep your login credentials in a secure place for future access.